Quick Start Guide - Spin a Motor
Share
Welcome to MotorGo. In this tutorial, we will walk you through the step-by-step process to spin a motor. This guide includes core concepts, mechanical setup, and software setup needed for your first project.
Additional resources can be found in our documentation here.
Core Concepts
For any robotics project, you will need four basic components:
- Brains - ESP32 microcontroller on the MotorGo board
- Actuators - your motor
- Sensors - EncoderGo or other rotary encoder, attached to your motor
- Power - supplied over USB-C or battery.
As robots become more complex, the number, size, and shape of these components will change drastically. However, the same basic rules apply no matter what you're building. A robot will need these 4 things to work.
What is a rotary encoder?

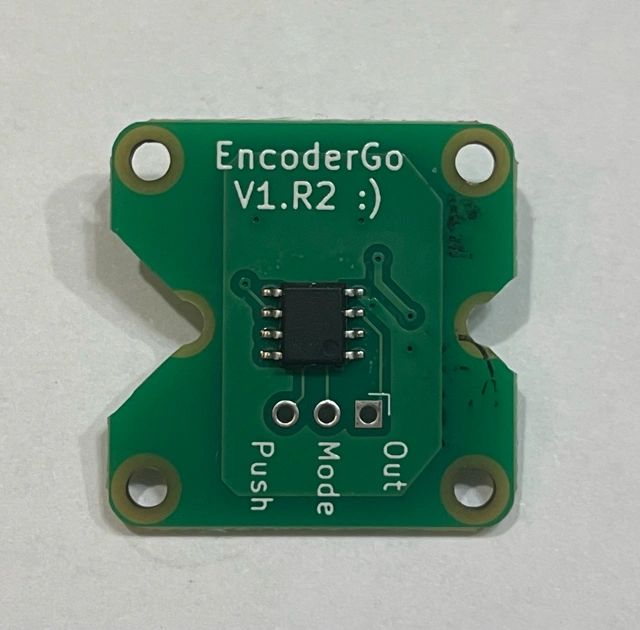
(in this picture of our EncoderGo PCB, the encoder is the black rectangle in the center)
A rotary encoder is a sensor that detects a rotor's position based on one of several physical principles. The EncoderGo is a magnetic rotary encoder, which means it measures magnetic flux from a nearby magnet to determine the rotor's position. It is important that this magnet is chosen and installed correctly to ensure that the encoder reads useful data. There are many references online to learn more about how encoders work. Here is one example.
Mechanical Setup
Mechanical setup has a few main steps:
- Install positioning magnet in the motor
- Mount motor to motor mount
- Install encoder on motor mount
- Plug motor and encoder into MotorGo board
1) Install positioning magnet in the motor
This step depends on the motor selected. Some of our product development work took place on a BDUAV 2204 260kV motor, so we will demonstrate with this motor. To transfer to your own motor, just make sure that your magnet mount is appropriately designed for your motor shaft.

We used super glue to hold the magnet holder, magnet, and rotor together. Make sure not to use too much glue. If you glue the rotor and stator together, the motor will have trouble spinning!
Key detail: when selecting a magnet, make sure it is diametrically magnetized, not axially. See this visual from Stanford Magnetics.

See the picture below for our demo:

2) Mount motor to motor mount
yay for palindrome sentences :)
For the BDUAV motor, the stator (fixed part) already had tapped holes for M2 bolts, so we used those. For this specific motor, be careful that the bolts aren't too long. You can damage the motor if the bolts scrape against the windings.

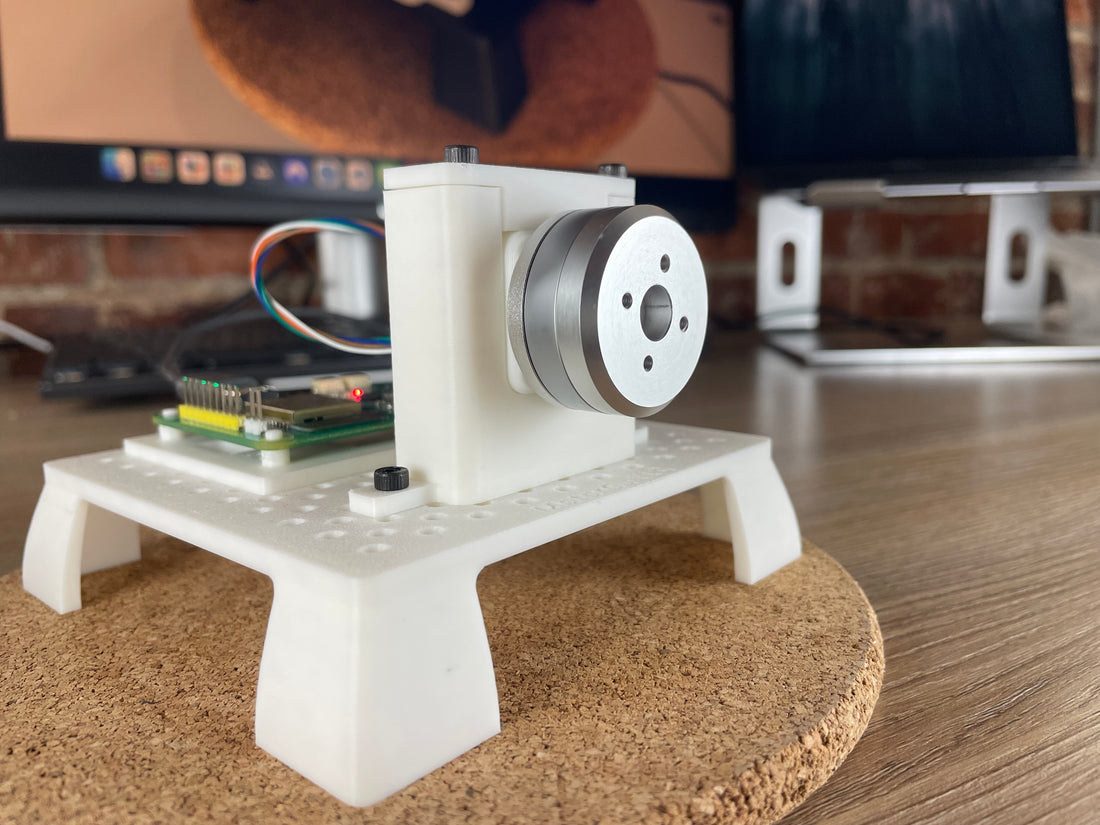
This is how our demo kit looked after installing the motor on the motor mount.

3) Install encoder on motor mount
The encoder should be 2-5 mm away from the magnet. With our design, we made the magnet sit about 2 mm away from the encoder.
When mounting, make sure the encoder (the black rectangle on the EncoderGo) faces the magnet. We added an alignment notch to simplify assembly for this specific motor mount.

4) Plug motor and encoder into MotorGo board
The MotorGo is laid out as follows:

To connect your motor to the MotorGo, simply attach the motor leads to the motor output pins and the encoder to the encoder connector. Make sure you install the same motor and encoder on the same channel. For this example, we will install the motor on channel 0.

Software Setup
Install the Arduino IDE. For help on this process, see this link to the Arduino software page.
We are launching Arduino support soon, so stay tuned for a complete software setup guide. You can find the Arduino setup instructions here.
With the Arduino IDE set up:
With the Arduino IDE set up, navigate to our motor calibration example and paste the sketch into your IDE. Upload it to the board and run it.
Link to Motor Calibration Example.
After the motor and encoder are calibrated, navigate to our documentation for spinning 2 motors. Paste the sketch into your Arduino IDE, upload to the board, and run it. This should start spinning the motor attached to your board.
Link to Spin 2 Motors Example.
Conclusion
Congratulations! At the end of this guide, you should have successfully installed a motor with an encoder, calibrated it, and commanded it to spin with our intuitive API. If you have any issues with this guide, please email support@motorgo.net with your inquiry and we will respond as soon as possible.
